YORKTON - “Eat your vegetables!” We have come a long way with veggies in our meal-planning; there are vegetables from far away lands, available in our grocery stores twelve months of the year! Gone are the days when the main choices were carrots, cabbage, iceberg lettuce, celery, and radishes. Yummy as these are, there are now so many choices like peppers of all shapes and colours, fresh herbs, exotic treats like eggplant, okra, lettuces and cabbage of every description, and so much more!
Last time we had tea, we chatted about growing mushrooms, an interesting adventure for gardeners who may not have a traditional garden. Here’s another possible possibility: microgreens.
What are microgreens? As the name suggests, they are little greens…tiny plants that are harvested to enjoy one to two weeks after germination. We might think that these are the gourmet garnishes in a nice restaurant…but they can be the next new thing that gardeners can try to grow at home!
Maybe you’re wondering right now, what’s the difference between growing sprouts and growing microgreens? Microgreens are just sprouts that have been allowed to grow a little while longer, so that we can actually see miniature leaves.
Microgreens have a lot of punch in a small package: they are high in nutrients, containing all the minerals and vitamins of their adult counterparts, but with perhaps more visual appeal.
They are easy to grow. They’re easy to add to sandwiches and salads. And there’s such variety! We can grow microgreens using kale seeds, arugula, mustard, peas, radishes, chia, buckwheat, beets, or Swiss chard. I read that broccoli microgreens are real powerhouses of vitamins.
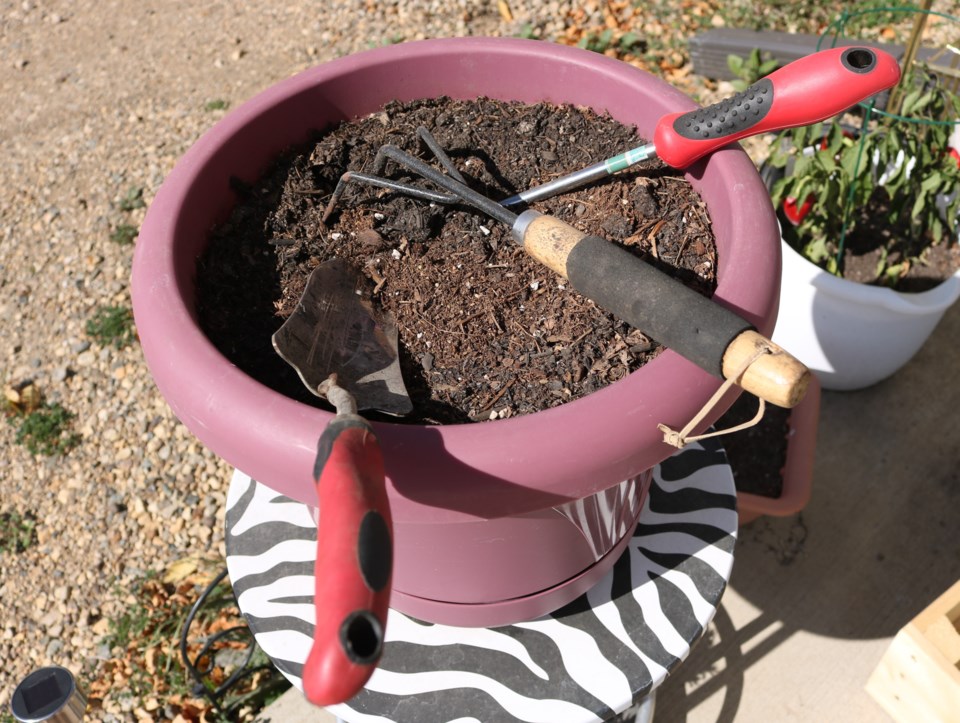
So where do we begin? The first thing to consider is our growing medium. We can use small containers with a light soil mix, or there are special mats that we can purchase. These mats are made from hemp or cotton. But just for today, let’s assume that we are using the light soil mix.
Because the roots of our crop will be small, we don’t need big or deep containers: flatter containers are preferable, with drainage holes. I read that before planting, we should water these containers from the bottom by placing them in a tray and adding water, letting the soil soak it up. After the soil is damp, we sprinkle our seeds of choice on the surface of the soil; there is no need to cover the seeds. ( It was suggested that seeds with a hard outer shell, or larger seeds, can be soaked for a few hours or overnight before planting.) Then we cover the seeds so that are in the dark until they germinate. When that happens, we uncover them and bring then into the sunlight.
Depending on the seeds, we can probably start our harvest in a couple weeks, using scissors to snip the microgreens. Rinse them gently before use. After that, we just need to maintain even moisture. Some microgreens will come back and give us a few more harvests, especially if we leave the lowest leaf on the stem while harvesting.
It sounds like an easy and fascinating project, doesn’t it! It would be fun to try in these days before we can get out into the garden. And delicious! We grew pea shoots last year, and my, they were tasty! Even the aroma of them made us think of the garden! Maybe you might want to give this project a try!
See what’s happening with the Yorkton horticultural society by visiting our website at www.yorktonhort.ca Thank you to our friends at YTW for their great work. Have a nice week!


